Certifying pinned MPO to LC links with the MultiFiber Pro
This article describes a method for certifying multimode links with 12, 10 or 8 fiber pinned MPO connectors at one end and LC connectors at the far end using a MultiFiber Pro. Although the article describes a Type B link, the procedure is the same for Type A and C. You can test this type of link using a duplex tester such as the CertiFiber Pro, but it is easier and quicker using the MultiFiber Pro.
If your trunk cable only has 8 fibers to support 40GBASE-SR4 or 10 fibers to support 100GBASE-SR10, MultiFiber Pro will automatically recognize it as a valid link and will not fail the link if the correct fibers are absent, shown below:
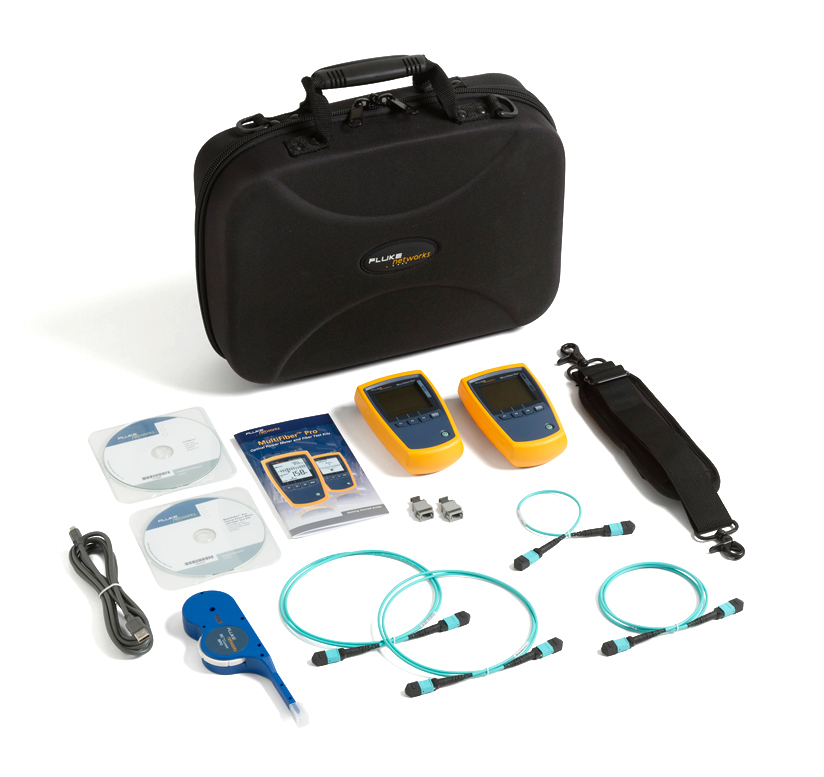
In addition to the following items:
- MFTK1200
- Gender changing MPO 1 m test cord
- Type B pinned MPO to LC breakout cable (Inserting unpinned cords into the source or meter will result in unstable readings)
You will need to have the capability to inspect both the MPO and LC end faces. (FI-7000 FiberInspector™ Pro).
Límites de comprobación
Se le requerirá calcular la pérdida esperada del enlace que está comprobando e ingresar esto en el MultiFiber Pro. No podemos y no vamos a aconsejar en cuanto a lo que es un límite de comprobación adecuado. Debe consultar con el diseñador del sistema de cableado. Information on application test limits can be found in the Versiv test limit document.
Cómo introducir un límite de comprobación
-
Select the desired wavelength by pressing the F3 key.

-
Presione y sostenga la tecla MENU/SELECT (MENÚ SELECCIONAR) por aproximadamente 3 segundos para ver:
-
Presione la tecla F1 para mover el cursor a LOSS LIMIT (LÍMITE DE PÉRDIDA):

-
Presione la tecla MENU/SELECT (MENÚ SELECCIONAR) para seleccionarla:
- Usa las teclas F1 y F2 para cambiar el valor de dB para que coincida con su requisito.
- Presione la tecla MENU/SELECT (MENÚ SELECCIONAR) cuando acabe para guardar.
- Presione la tecla MENU/SELECT(MENÚ SELECCIONAR) de nuevo por 3 segundos aproximadamente para salir del menú de configuración.
Cómo realizar la medición
- Turn on the source and meter allowing them to stabilize for at least 5 minutes. If the instruments have been stored at the same temperature as your test area, 5 minutes is usually long enough. Si hay un cambio de temperatura significativo desde donde fueron almacenados con respecto a donde los está usando, tendrá que permitir que se estabilicen. We shall check the sources for stability in step 9).
-
Connect the meter and the source together using your pinned to pinned gender changing MPO test cord and press MENU/SELECT until you see POWER on the display:
- No debe faltar más de un óvalo en la pantalla del medidor de potencia. Idealmente, usted debe ver cinco óvalos para los doce canales. Si usted ve tres óvalos o menos para cualquier canal, el cable de comprobación puede necesitar reemplazarse. Los puertos del MultiFiber Pro también pueden necesitar limpieza. Si usted continúa con más de un óvalo faltante aquí, los resultados de comprobación serán impredecibles.
-
Presione MENU/SELECT (MENÚ SELECCIONAR) para ver SET REF (ESTABLECER REFERENCIA) en la pantalla: (La referencia se iniciará automáticamente)

-
Cuando finalice, SAVE (GUARDAR) aparecerá por encima de la tecla F1. Press F1 and the screen should report 0,00 dB:
- Verifique la estabilidad de la fuente dejando el cable de comprobación conectado por 30 segundos. Si ve un cambio en la pérdida, repita el paso 4 nuevamente hasta que obtenga una lectura estable.
-
Disconnect from the meter side: (DO NOT DISCONNECT FROM THE SOURCE)
-
Using the gender changing tool, change the test cord connector to unpinned: (DO NOT CHANGE THE TEST CORD)
-
Insert the pinned MPO to LC breakout cable into the MultiFiber Pro meter:
-
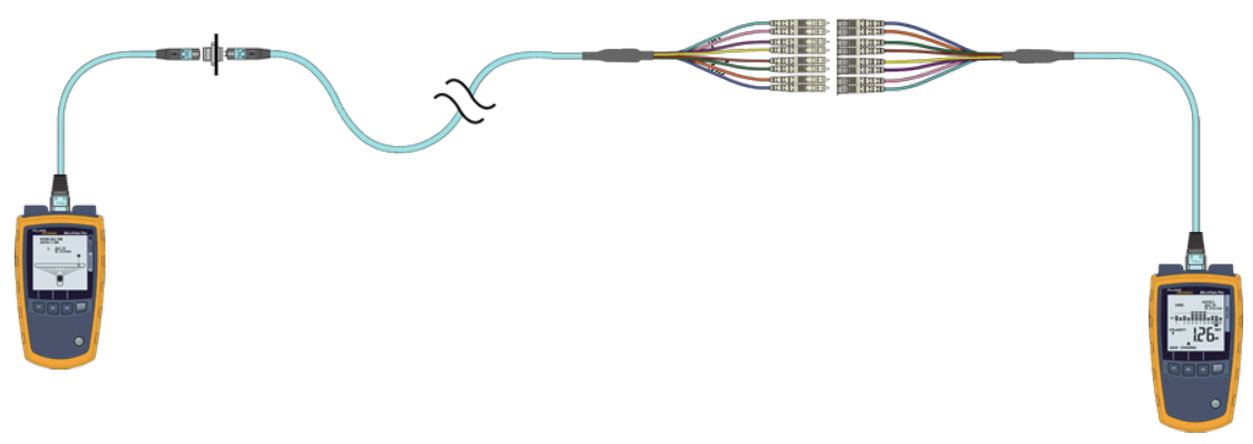
Conecte al enlace MPO que desea certificar. In six seconds, you will have the loss across all fibers.
10a. This can also be used on hybrid MPO to LC cables
Información adicional
- Al ver la PÉRDIDA, cada óvalo representa 25% de su límite de comprobación ingresado.
- Una pérdida de lectura de menos de -0,09 dB resultará en un error. Si esto ocurre, a las sus fuentes no se les permitió estabilizarse. Vuelva a restablecer la referencia.
- Los cables de comprobación MPO deben inspeccionarse y reemplazarse a menudo. Los proveedores especifican una vida de acoplamiento típica entre 500 y 1000 inserciones para MPO/MTP multimodo.
- The MultiFiber Pro will store 3.000 fiber loss results (250 MPO links, each with 12 fibers or 375 MPO links, each with 8 fibers)
- Los resultados se pueden importar a LinkWare PC a través del cable micro USB suministrado.
- While this article shows the image of an MPO trunk cable terminated with an MPO to LC cassette, these instructions also apply to trunk cables that may have an MPO connector on one end, and LC connectors on the far end.
Cómo crear un informe de comprobación
Utilizando la última versión del software LinkWare PC, conecte el medidor al PC utilizando un cable micro USB estándar (suministrado). Click on the red arrow in the tool bar, selecting MultiFiber Pro. Follow the import wizard instructions.


